Visual Planner
Creating Plantings via Visual Planner
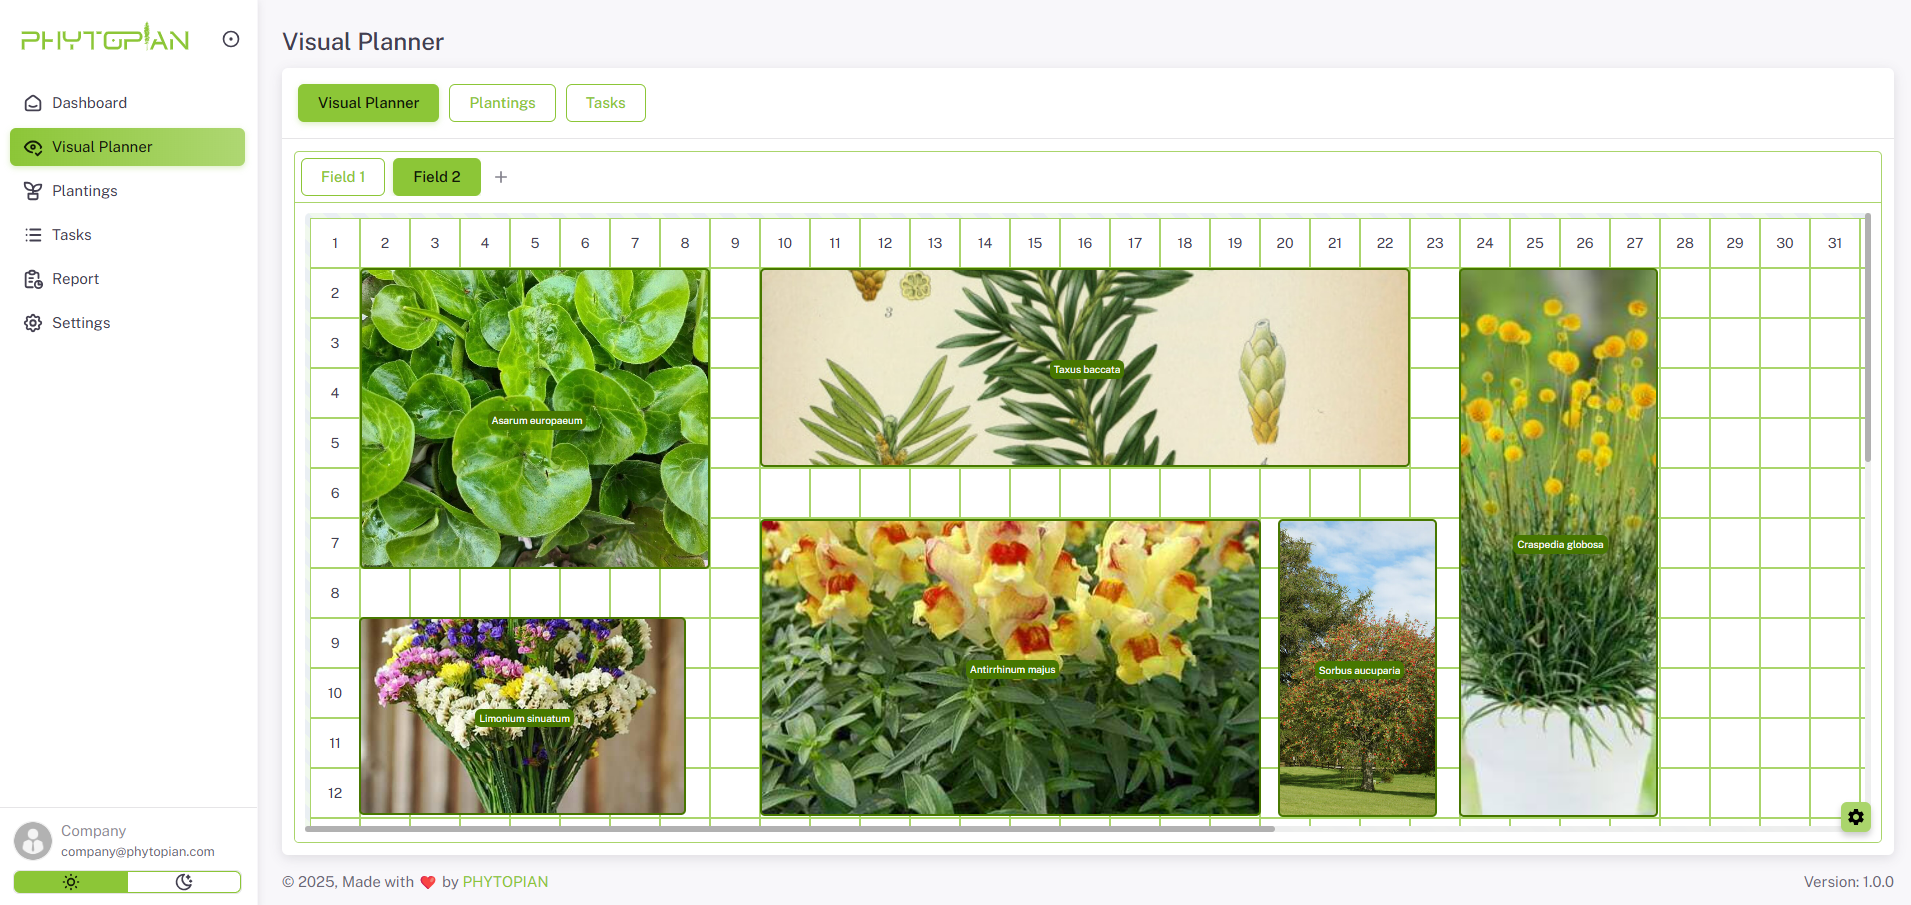
To add a planting using the Visual Planner:
- Add Field: Define a field location by entering its name (e.g., "Field #1" or "Back Garden") and its dimensions in meter. It's advisable to create larger spaces rather than multiple smaller ones.
- Field Options: Click the gear icon in the bottom right to manage field options like resize and delete field location.
- Create Planting: Click and drag your mouse to create a planting within the growing space.
After creating a planting, you can:
- Add Planting: Choose to add a new planting.
- Resize: Adjust the planting size by dragging the resize icon or entering dimensions manually.
- Move: Drag the move icon to reposition the planting.
- Reorder: Use the swap icon to change the planting's layering order.
- Delete: Click the trash icon to remove the planting.
Upon adding a planting, select a variety from the available plants, which are sorted by latest and can be searched or filtered by presets and custom plants. Define the planting stages (e.g., seed, seedling, maturity), specify plant spacing, and adjust the quantity as needed. You can also add tasks related to the plantings.
Adding Plants
To add or edit plants:
- Navigate to the Settings -> Plant Settings -> Plant page.
- To create a new plant, provide details such as plant name, genus, description, and an optional photo.
- you find details guildlene here